Overview
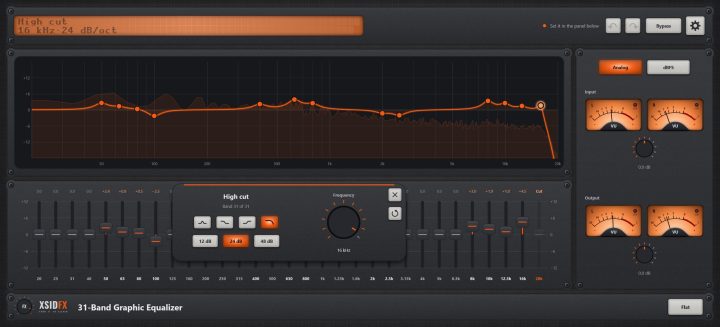
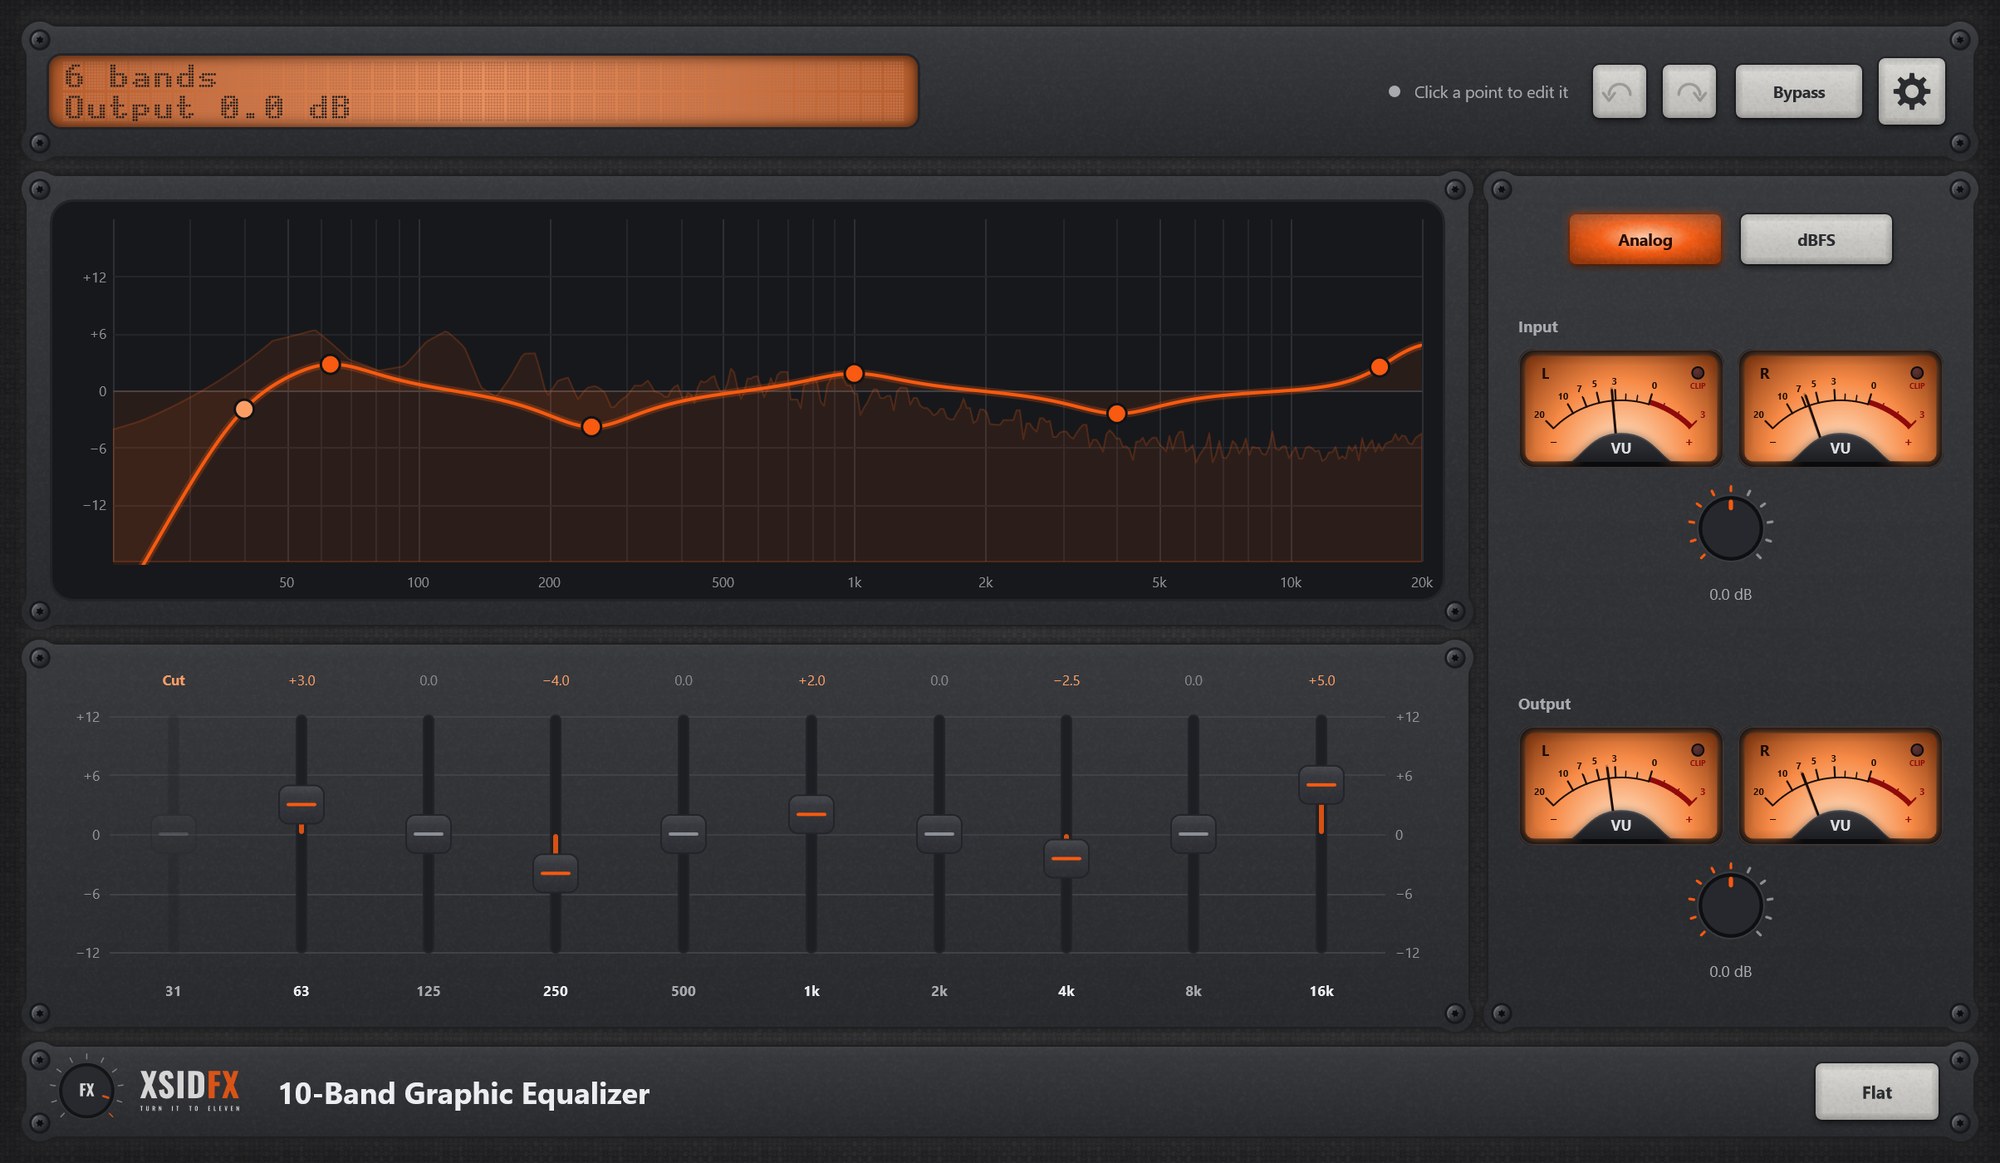
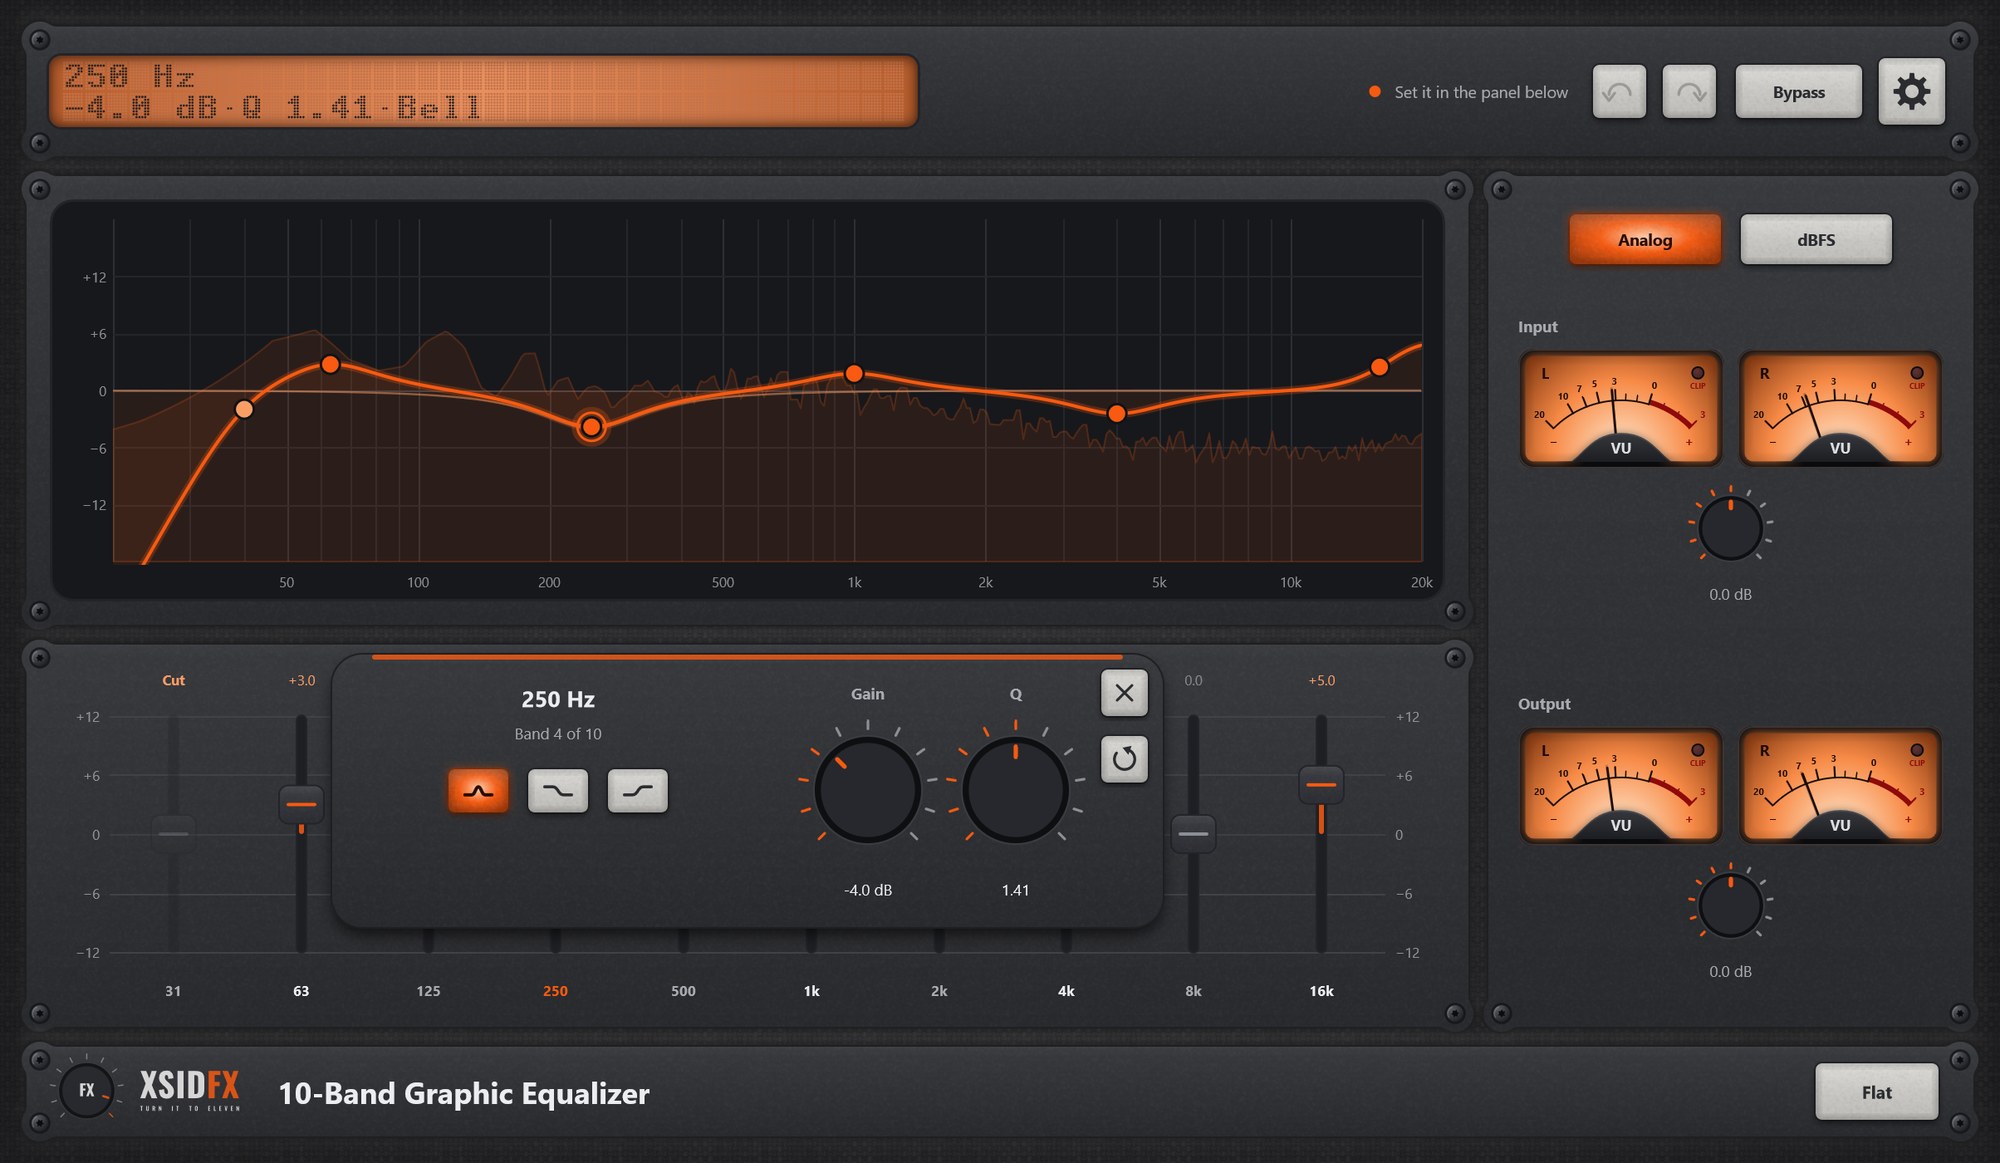
Ten bands an octave apart, from 31 Hz to 16 kHz, each on a fader of plus or minus 12 dB. A band that is not at zero shows as a point on the curve; click it to change its type (bell, shelves, and for the outermost active bands a low or high cut), gain and Q.
Getting started
- Pull a fader, or drag a point up and down on the curve.
- Click a point for its editor; double-click it to reset the band.
Controls
| Faders | Each band’s gain, plus or minus 12 dB; a double-click returns it to 0. |
| Point editor | Type (Bell, Low shelf, High shelf, and Low cut / High cut on the outermost active band), gain, Q; cuts also have their frequency and slope (12, 24 or 48 dB/oct). |
| Flat | Returns every band to 0 and to a bell, and removes the cuts. |
Settings
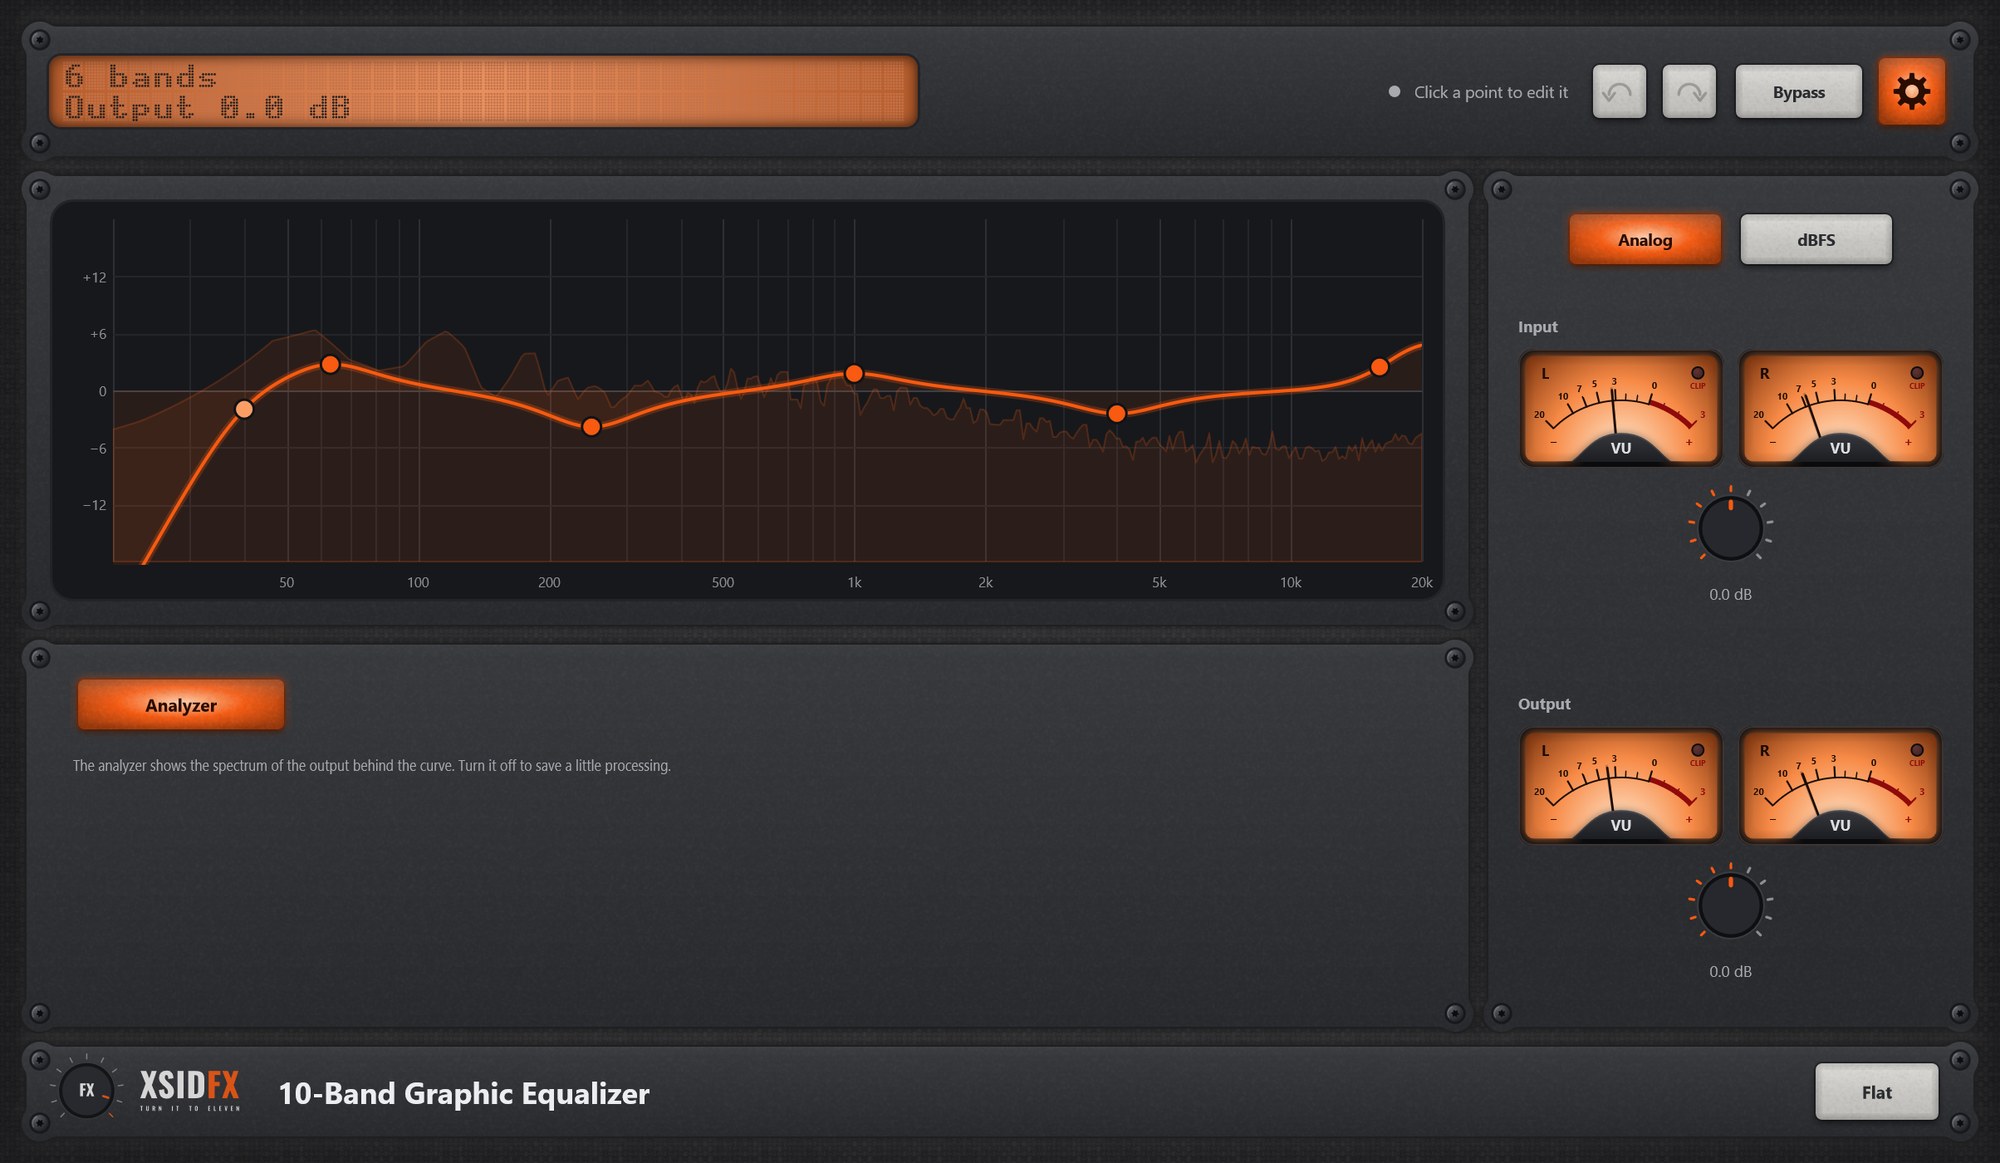
The gear in the header opens the settings panel; it covers the lower panel until the gear is clicked again.
| Analyzer | The output’s spectrum behind the curve. |
| Output | The level after the equaliser. |
What the screen shows
The equaliser’s curve over the output’s spectrum; the points ride on the curve at their frequencies.
Tips
- Turn the lowest active band into a Low cut to clean up rumble without another plugin.
Technical notes
- Bands at Q 1.41, RBJ filters, cuts Butterworth. A band at zero costs nothing and changes nothing.
Common to every plugin
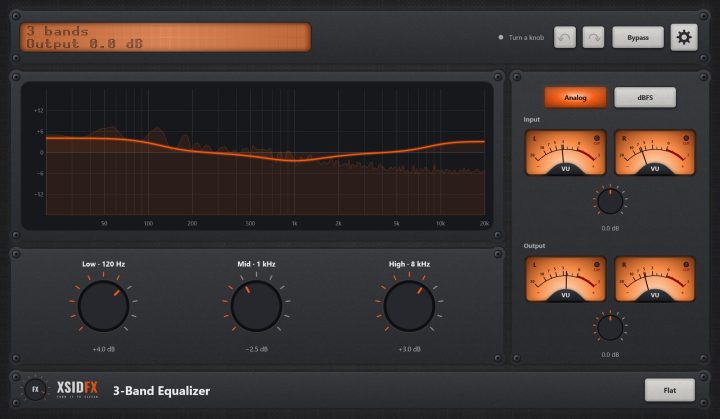
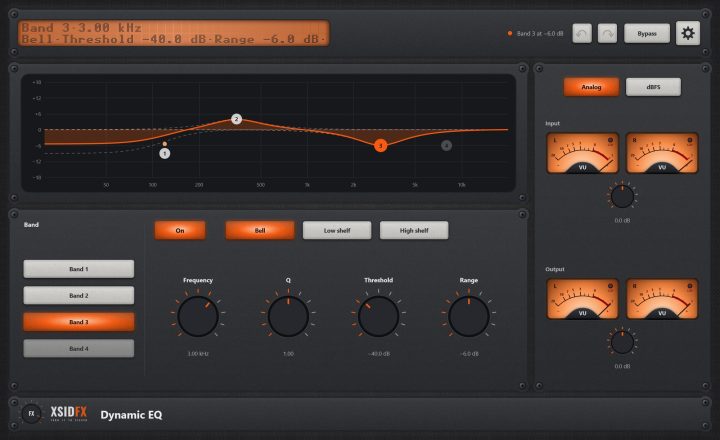
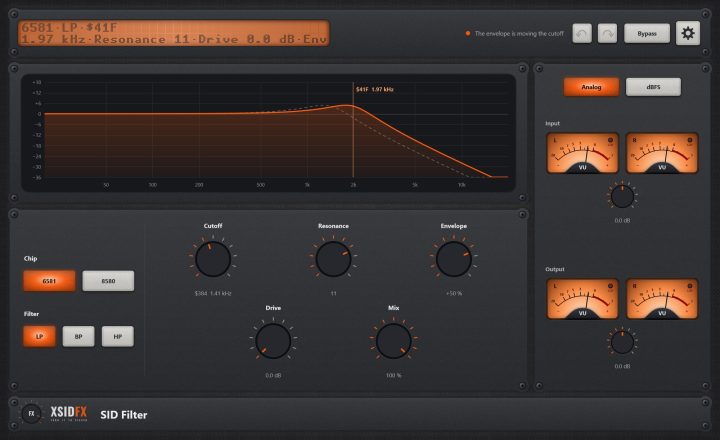
| The header | Every window opens with the same header. On the left a dot-matrix display shows the main reading large and the details under it; text that does not fit scrolls. Next to it a hint with a coloured dot says what the plugin is doing or what to do next. On the right: Undo and Redo arrows (up to 100 steps of everything done in the window), the Bypass button, and the gear, which opens the plugin's settings panel when it has one. |
| Bypass | With Bypass lit, the plugin lets the sound through untouched. It is the same switch as your DAW's own bypass for the plugin, so either can be used and automated. The input is held back by exactly the plugin's latency, so the timing stays right, and switching fades over 10 ms, so it never clicks. Bypass is not part of Undo. |
| Input and Output | Most plugins have a column on the right with a pair of VU meters for the input and the output, each with its own gain knob (plus or minus 24 dB). Analog shows the classic VU scale, dBFS the digital one. A click on a meter opens a large view of it. The CLIP lamp lights when a sample reaches 0 dBFS. |
| Knobs | Drag a knob up or down to turn it. Knobs that go both ways, or that have a natural middle, catch briefly at their centre. A double-click returns a knob to its default. |
| About and the demo | A click on the xsidfx logo in the footer opens About. In the demo version the plugin's name ends in (demo), its settings are not saved with your project, and About opens each time the window does. |